Tag Archives: butcanshebake

no-bake MINI chocolate tarts!

21Nov14-059©chicksphoto
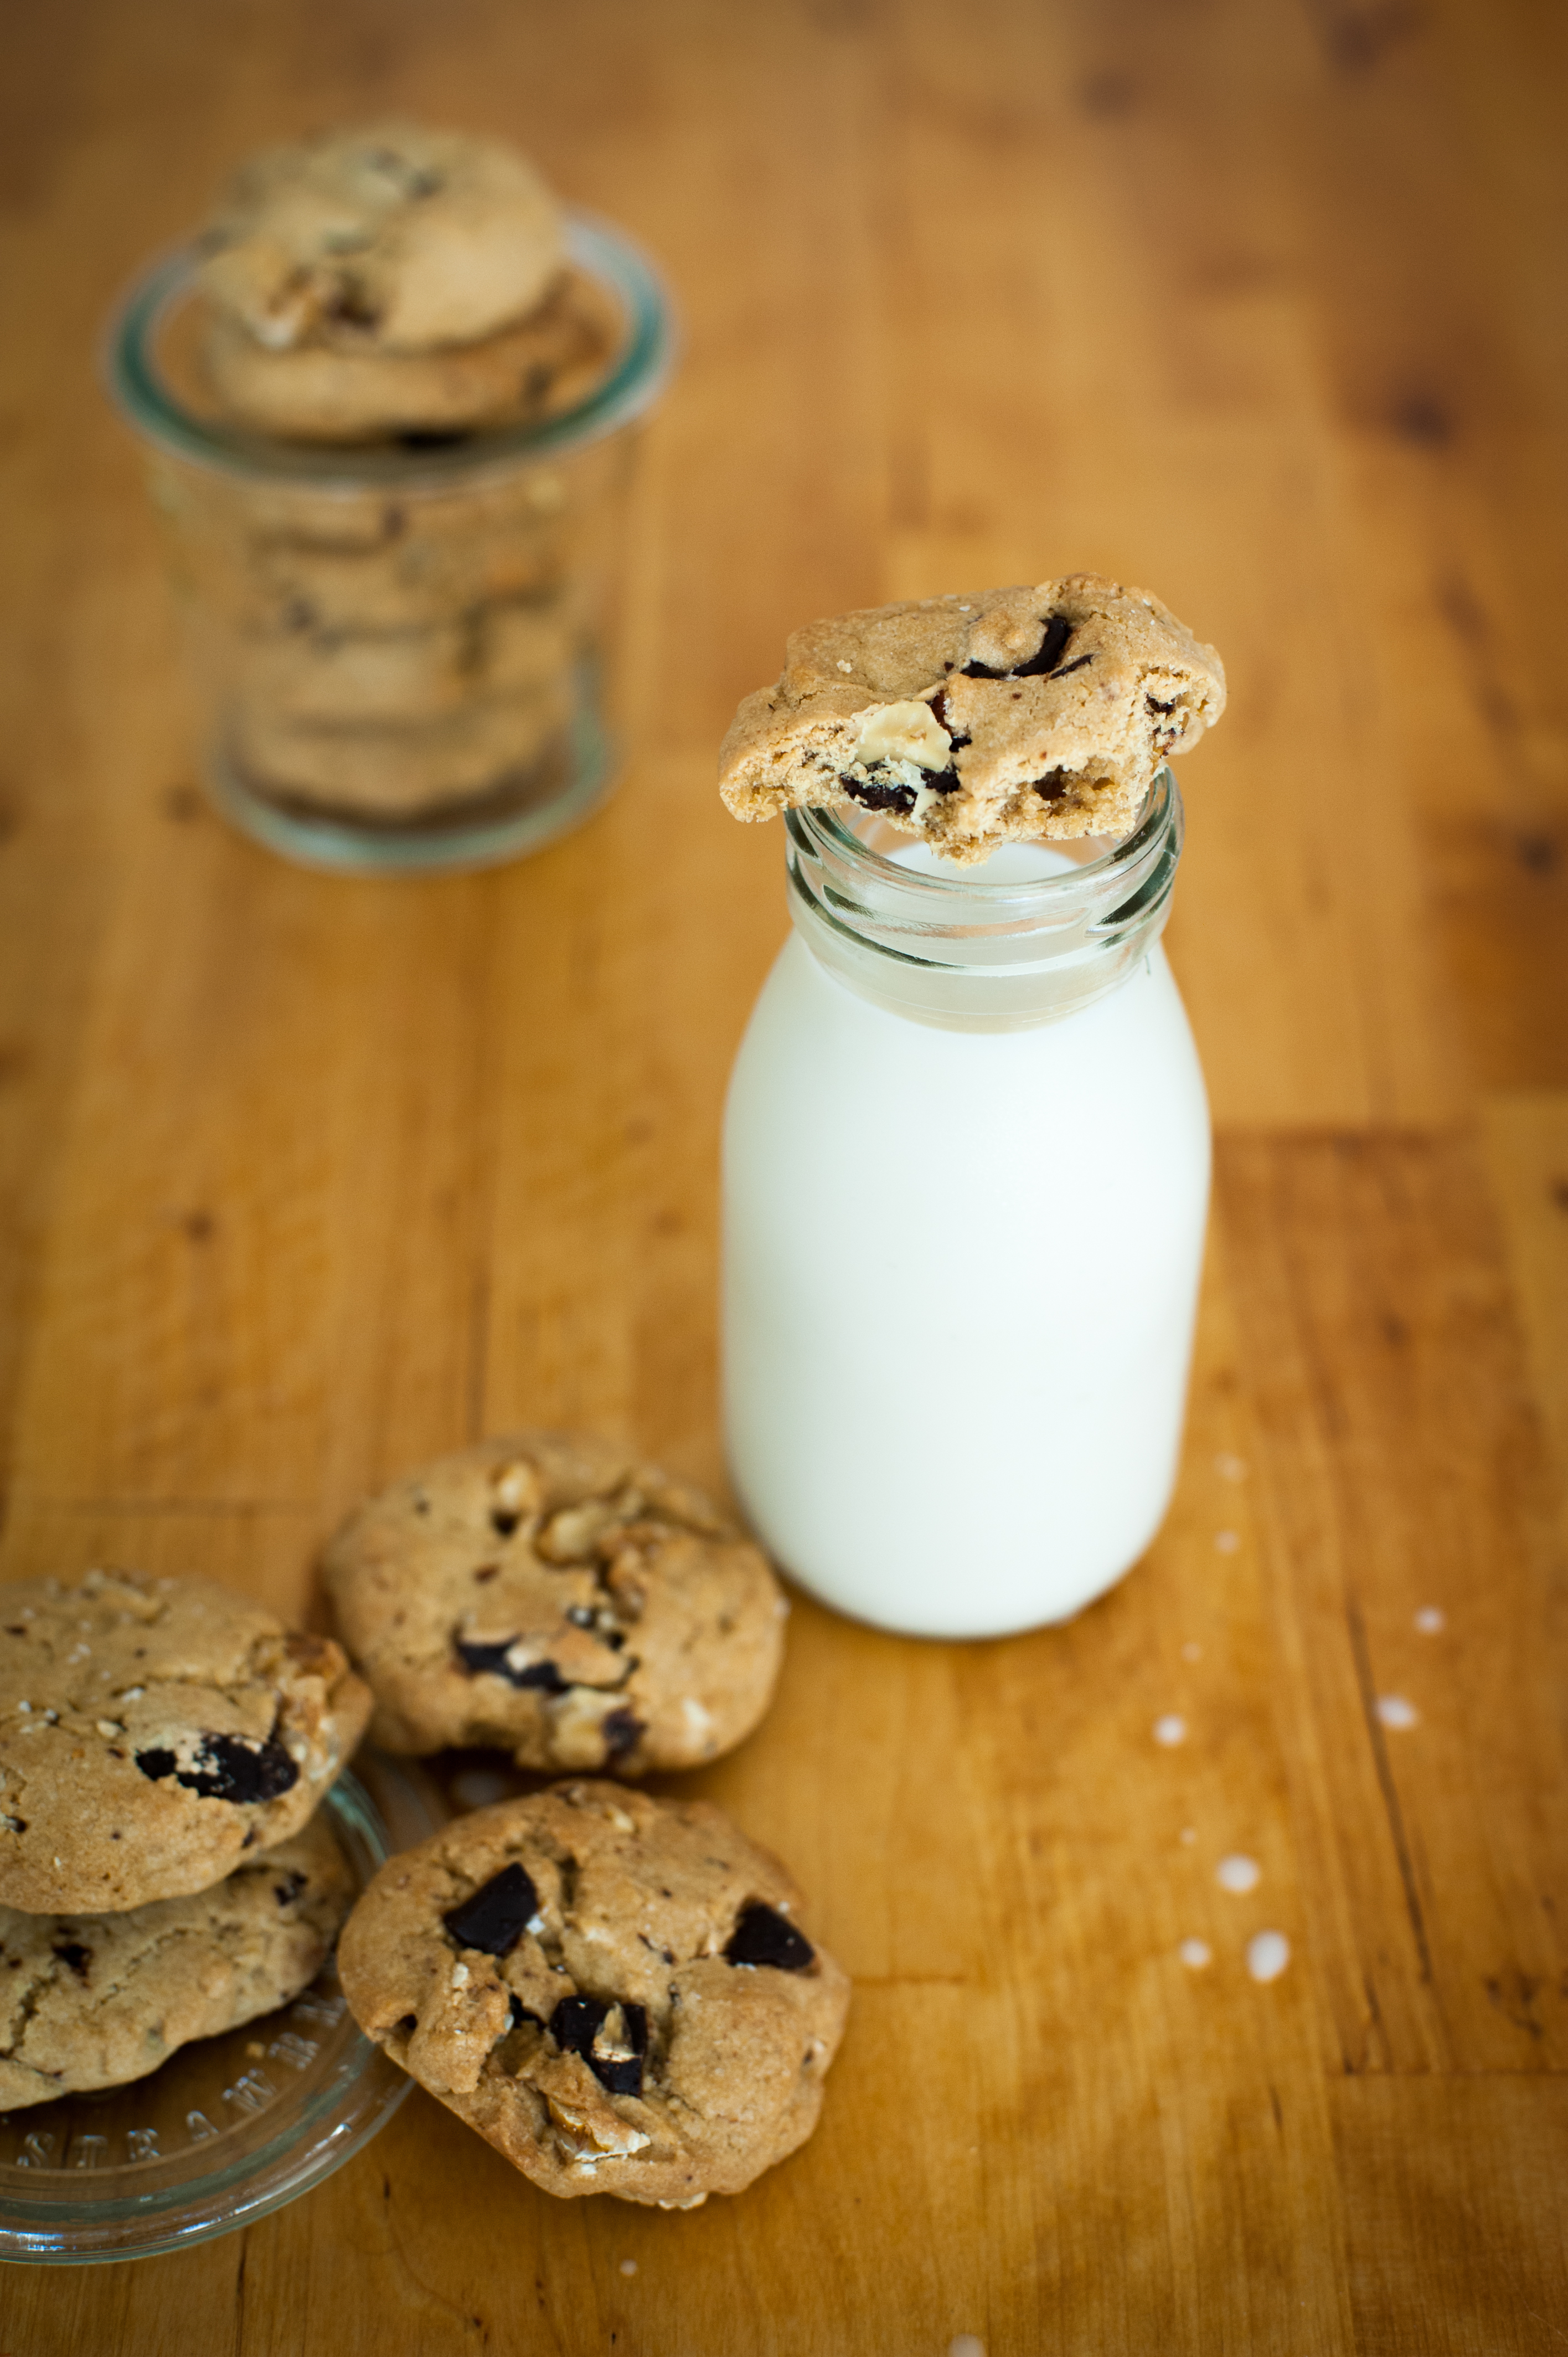
I took this picture the other night and I immediately wanted to make creamsicles.

right?! you get it.

The day was HOT. And the weekend was HOTTER – Meaning that baking was never going to be a happening thing in my kitchen. Creamsicles seemed like a good compromise. Sweet and delicious – minus the heat. But then I couldn’t find popsicle molds and basically my whole world came shattering down as I stumbled around the Woolworths on Saturday night looking for some popsicle mold-like container. I’m a wild and crazy kinda lady on Saturday nights. I had these really solid intentions of cashew cream/coconut milk/orange zest amaz-sicles – but alas Woolworths really dropped the ball.

So. Now that you REALLY want a creamsicle… I bring you… no-bake chocolate tarts! YAYYYYY!

No-bakeTarts-23Nov14-007©chicksphotoThey are super cold. They are super delicious. And they are super easy. I have made this before in a ‘one big pie’ sort of way… but when I looked back on that recipe it had about 10 ingredients for the base alone which, again, just wasn’t a happening thing. So, in my lazyness, I eyeballed a bunch of ingredients into a food processor and hoped for the best. Here’s to me accurately remembering the recipe for you now! Woop!

No-bakeTarts-23Nov14-028©chicksphotoNo-Bake Chocolate Mini-Tarts
Gluten-Free, Dairy-Free and DEELIGHTFUL.

Ingredients

Crust
1 c. pecans
1/2 c. medjool dates
2 tbsp. cocoa powder
1 tbsp. coconut oil

Filling
1 c. avocado flesh
2 tbsp. cocoa powder
1/2 tsp. salt
1/2 tbsp. arrowroot powder
1/3 c. maple syrup
1/3 c. oat milk
1/2 tbsp. peanut butter (totally optional)
1/2 tsp. vanilla
1/4 c. melted chocolate

For the crust, I crushed up the pecans first in the food processor and then added the other ingredients and mixed until it was well combined and forming a sticky ball. If you can press it together and it holds – its ready. You can used more or less dates – this crust is about consistency. Whatever works as long as it is sticking together well. I divided up the crust into 12 silicone cupcake liners and pressed it into the bottom. I put this in the freezer to chill as I made the filling.

Making the filling is just a matter of putting all the ingredients into the processor and mixing until it is as smooth as possible. I divided this mixture evenly onto each of the crusts and then allowed it to set inthe freezer for about 4 hours.

They should pop out of the liners very easily because of the coconut oil. They are and highly addictive. You can sprinkle some salt on top if you like because… delicious. 🙂

No-bakeTarts-23Nov14-010©chicksphoto

No-bakeTarts-23Nov14-039©chicksphotoYou can see here that I obviously ate about three of these before I finished photographing them. yum.

xxx


3 Comments

Filed under Desserts, Pies

long weekends & lenses

Who doesn’t love a long weekend?

Sometimes… you just want to get away for a long weekend, but maybe you took too long to decide what you wanted to do and now all the b&b’s are booked up and all the campgrounds are overflowing with children because the long weekend also coincides with school holidays. Yeah, so ‘getting away’ will be more stressful then it is relaxing.

So what do you do in that instance? You just drive someplace nice and the sleep in your car. obviously.

It didn’t take too much convincing… Sean and I decided that the only way to have a hassle free weekend away would be to stuff a bunch of pillows in the back of the car, open up that sunroof and crack a bottle or wine.

Or drink exactly one half glass before it starts pouring down rain at which point you shut all the doors and sunroofs, tip out your wine and just go to sleep.

So that’s what we did.

DSC_7807Hey, hot damn! We are two cray-zay kids.

We went car camping! Up to Port Stephens to check out the sand dunes that I have visited once before…

DSC_7823Check out those endless blue skies!

DSC_7838

DSC_7852

DSC_7859

DSC_7864

DSC_7874

DSC_7905

We may have tried to glide down the dunes on a body board. It mostly did not work. But we DID find this cool Goana track in the sand.

And then look what happened this past weekend! I bought a new lens!
DSC_8122Here is how ridiculously wide this lens is…

DSC_8132It’s a professional selfie yo. And this bad boy with make your arms look SUPER long and slightly anorexic. AWESOME! (kidding)

DSC_8143YAY FOR WIDE LENSES!

this post was essentially useless… but I just wanted to share some pics and good times!

xxx

3 Comments

Filed under Adventures in Australia, Travel

Pom-tastic Kale Salad

A couple weeks ago I was invited to a BBQ. It was a pot-luck affair and I wasn’t sure what to bring. My go-to lunch is salad. It’s pretty boring. Just lettuce, carrots, avocado, tomatoes, maybe some tofu… I mean, I love it! I love my boring salads. But for a BBQ I was thinking something more exciting might be necessary.

Last time I was in Toronto, my dad made the BEST salad ever. I think it was a recipe from Chatelaine magazine. It was simple, but so delicious.

DSC_8016 copy I didn’t have all the right ingredients in my kitchen, but I improvised and even created a new dressing that I thought would be an excellent addition. It was.

This is one flavourful salad. The cranberries really make it and the pomegranate dressing adds an additional hint of sweetness that ties it all together.

DSC_8022Cranberry & Kale Salad
recipe adapted from here

1 c. dried barley
1/2 c. dried cranberries
5 c. chopped kale, about 1/2 small bunch
1/2 c. diced red onion

Dressing
1/3 c. extra-virgin olive oil
3 tbsp pomegranate molasses
1 tbsp apple cider vinegar
Salt & Pepper to taste

Cook the barley as directed on the package. Usually, I add the 1 cup to 4 cups of water and simmer for about 20-30 minutes. Drain and rinse in cool water. Chop the onion, and kale and toss it together with the cranberries and barley.

In a separate bowl, whisk the oil, molasses and apple cider vinegar. Add salt and pepper to taste.

Pour the dressing on the salad and toss until evenly coated. The longer you allow the salad to marinate in the dressing, the better it tastes!

🙂

DSC_7760I didn’t have any pomegranate molasses and I didn’t know how easy it would be to find it, so I actually made my own. It was basically just pomegranate juice, sugar and a bit of lemon simmering for about 40 minutes until it develops into a syrup.

DSC_7765Easy peasy.

xxx


Leave a comment

Filed under Adventures in Australia, Salads

banana bread muffins

I’ve been in kind of a creative rut. And when I say creative rut, I mean more of a life style rut.

DSC_6962

Since I arrived home from my travels about a month and a half ago, life has been a little upside down. House guests (which were actually the best), new jobs, semi-new homes, lots of dining out and not a lot of time for thinking or baking. I’m not exactly complaining… I’m just sayin’. It’s been crazy.

DSC_6983

Even now, a week after my house guests departed, I still can’t seem to find a rhythm. I guess this might take a while.In the meantime, I’ll make muffins. It seems to be what I do when I’m having trouble re-adjusting.

DSC_6956-Edit

Chocolate Banana Bread
Adapted from Daily Garnish

1/2 c brown sugar (loosely packed)
1/4 c maple syrup
1/4 c coconut oil
3 ripe bananas, mashed
1/4 c oat milk
1 tsp apple cider vinegar
1 tsp vanilla
2 c whole wheat flour
1/2 c rolled oats
1/2 tsp baking soda
1/2 tsp kosher salt
1/4 c chocolate chips
1/4 c walnuts

Add sugar, syrup, and coconut oil to bowl and beat until well combined. You can do this manually, or with a mixer.

In a separate bowl, combine oat milk with the apple cider vinegar. Add this mixture as well as the mashed banana and vanilla to the sugar/syrup/oil bowl and combine.

In another bowl, mix the dry ingredients and slowly combine them into the wet. Fold in the walnuts & chocolate but don’t over mix.

Spoon the mixture into muffins cups and bake for 20ish minutes at 350 degrees or until a toothpick comes out clean.

DSC_6969xxx

7 Comments

Filed under Adventures in Australia, Muffins

veggie eats in: St. Pete’s

Before I left on my trip I did a bit of research – specifically for vegan and vegetarian restaurants in Russia. I heard that it might be a challenge to eat well as a vego in Russia and I didn’t want to starve. Over the next couple months I am going to try and share some of delicious places that I have tried around the world. (Complete with pictures if I was brave enough to take out my Camera… which I clearly was not while in St Petersburg.)

IMG_0567

Cafe Ukrop
Ulitsa Marata 23 (191025)

I stopped by this cafe on my first day in St Petersburg when I was all alone. I had read that Cafe Ukrop had English menus, so I knew that I would be ok there. The cafe is quite cute but on the first floor they don’t speak any English. The guy behind the counter smiled, but then opened a notebook that had various English phrases written out. He pointed to: English Restaurant upstairs.

So up I went.

The Restaurant was very nicely decorated, very clean and modern and very organic. The menus were clear and just about every dish looked amazing. The vegan dishes were marked, as were raw dishes and anything that you add milk or cheese to.

I settled on a potato, pea and cucumber salad with a cashew mayonnaise and lots of dill – Those Russians love their dill. I was craving vegetables in a bad way, so I also had a carrot juice. Gotta keep my orange glow.

I would definitely recommend this place for vegans and veggies alike. I didn’t try their desserts, but they looked amaze. I found all these places on HappyCow.com so check that out too – usually opening hours are listed but most places in Russia are open late (9 or 10)

Cafe Botanika
7 Ulitsa Pestelya (near Mukhinskoye Arts Institute)

We visited Botanika on our second day. And then our third. And then our fourth. They, too, had an English menu and waitresses that were adorable. On our first visit, Sean and I both had a juice and I went the full Russian and followed that up with a beet salad and then some Borsch. BEET OVERLOAD (but not – I could eat Beets forever.) Both dishes were sooooo good. Sean had a Dillwich, whichh was some kind of wrap – and a mulled wine. The prices were reasonable and the food was so comforting.

DSC_2665

We returned the next two days for multiple coffees. Mostly cause the waitresses were so cute.

The Idiot
Nab. reky Moiky 82

The Idiot was our restaurant of choice for our night out to the theater. We arrived at about 6.15pm and were greeted and seated immediately. The decor was very homely – it kind of felt like I was in a Babushka’s dinning room. There were tall candles on each table and china cabinets against each wallpapered wall. It was sort of in the basement of a building which made it a very cozy place to dine. The menu was in both Russian and English with some charming spelling and grammar mistakes. We opted for the non-smoking section, but pretty much everyone smokes in Russia and you can do it pretty much everywhere – so that is something to keep in mind, it was rather smokey.

The best part about the Idiot is by far the bread basket. It comes with about 5 different kinds of the best bread ever. They also bring you a trio of flavoured butters (not vegan) but still a nice touch.

IMG_0577

For drinks we ordered a honey and pepper spiced shot of Vodka (when is Russia) and Sean got a beer while I ordered a wine. Upon serving our drinks the waitress also brought another complimentary shot of vodka from the bar. So just to sum up – 2 shots each and an extra drink. I have read that they give this complimentary shot to everyone. Bonus!

IMG_0578I had a delicious meal of salad and with an odd main that ended up being a ginormous plate of green beans.

IMG_0579

I would suggest trying something with a bit more variety – but just a side note, those beans were AWESOME.

IMG_0580

Sean ordered a burger – which he said was awesome… but why didn’t it come with a bun? Peculiar.

IMG_0581

Still a great place – a bit more expensive but really nice for a night out.

🙂
See you in Moscow!

x

Leave a comment

Filed under Travel

strawberry muffins and ohmygod it’s august.

woah.

Where did I go?

Where did time go? Is it august? Is it MID-august? Holy moly, you guys. I can’t even.

DSC_2004

Things are happening behind the scenes over here and it seems I haven’t baked in like… 67 549 years. That is an exact estimate.

Let’s not dwell on excuses as I have none. STRAWBERRY MUFFIN TIME!

DSC_2017-Edit

I feel like strawberries aren’t put into muffins enough. Blueberries, for sure. But strawberries? And I don’t know why NOT, cause these are delicious. Crazy yummy. And I like to over stuff the muffins liners so you have ginormous cafe-like muffins. oh yes.

DSC_2019

Strawberry Muffins
Adapted from my blueberry muffins.

1 c. whole wheat flour

1 c. all purpose flour

1/4 c. oats

4 tsp baking powder

1/4 tsp salt

1/2 c. brown sugar

1/2 tsp vanilla extract

1/4 c. raw sugar

1 c. oat milk (or any non-dairy)

3 tbsp mushed banana

1 lemon, zested

1 c. fresh or frozen strawberries

Preheat oven to 350 degrees F. Grease or line a 12 inch muffin pan with liners. In a large bowl, mix flour, sugars, baking powder and salt. Create a well and add the milk 1/2 cup at a time. Mix with a wooden spoon or rubber spatula. Mix in lemon zest, vanilla and banana and stir until fully combined. Gently fold in strawberries, try not to over mix muffin batter.

Spoon batter into muffin cups, filling about 3/4 full. Bake muffins for 22 – 25 minutes until fully baked. OR fill the liners all the way full, bake as normal or maybe a few minutes more and enjoy huge muffins.

DSC_2015

Check back next week! I promise to post more than once a month. 🙂 I have more things to share! Exciting things!

xxx

2 Comments

Filed under Adventures in Australia, Breakfast, Muffins

Breakfast and Dessert – basically the same thing

DSC_1673 copy

You know what’s weird?

That oatmeal and rice pudding have essentially the same ingredients and preparation/cooking instructions but one is a very distinctly a breakfast and one is very much a dessert. What is it with oats and rice? Why is rice a dessert and oats are a breakfast? Well I say to hell with that.

DSC_1637

Rice pudding for breakfast anyone? If we put fruit on it… its basically a balanced meal. duh.

I’m down with this train of thought.

Next thing: Why has the world been keeping home-made compote from me for the past 20-odd years. Who’s wise idea was that?

I didn’t think it was that easy to make I guess. And man, it is better than jam and contains less sugar… so why would you ever make jam?! WHY!? Why would you try (and probably fail) to can/jar things in boiling water  when you could really, honestly, just eat compote from the saucepan…? Riddle me that!

So – I made rice pudding. And then I made compote. And then I layered them like a fancy person and put lemon on top like an even FANCIER person and then my tastebuds exploded.

If I can have fancy tastebud explosions… so can you!

Lets get into it!

DSC_1682

Rice Pudding

1/2c. Arborio rice

1 c. coconut milk

1 c. oat milk

1/4 c. raw sugar

1 tsp. lemon zest

1 vanilla bean (scraped)

1/2 tsp. cinnamon

Blueberry Compote

1 c. bluberries

1/8 c. sugar

1 tbsp. lemon

1 tsp. lemon zest

1 tsp. arrowroot powder

For the rice puddin’

Pour the coconut milk, oat milk, rice, sugar, and zest into a saucepan and bring to a boil over med/high heat. Once the mixture is boiling, lower the temperature and allow it to simmer while covered for about 30 minutes. I usually eyeball this because it always depends. I taste it and take it off the heat when the rice is cooked and there is only a bit of liquid left. It will firm up quite a bit as it cools. Now, mix in the cinnamon and vanilla bean scrapings.

Serve hot or cold with blueberry compote.

For the Blueberry compote

Toss everything in a small saucepan and simmer on a medium heat until sugar has dissolved and you crush up some of those berries. It doesn’t take long… 3-5 minutes.

Eat direct from saucepan. Or layer with rice pudding like a fancy person.

DSC_1705

xxx


17 Comments

Filed under Breakfast, Desserts, Puddings

chocolate chip cookies

COOKIES!

DSC_1547
Cookies have been happening a lot around here. Like thesethese! Both winners, however I had yet to make the old classic: Chocolate Chip!

My Dad makes a pretty mean cookie… in my highschool days I could often eat 5 at a time after school. MAN they were good.

And on that note…it’s Father’s Day in Canada!!!
Happy Father’s Day to the most awesome Dad in the world. He is super rad and hip and drinks scotch and listens to music really loud. and it’s NOT cause he’s deaf, it’s cause he’s bad ass. He also once rode his bike to attend a Foo Fighters concerts by himself… and I think that’s just plain cool.
And while I will never forget the PMI… and I will hold it against you for always, you have redeemed yourself with incredible cookies and delicious muffins.
Can’t wait to hang out soon. And bake things and make things hopefully with some new kitchen appliances in the t-dot! 😉
nice-fam
MISS YOU PAPA HICKS!
love love love

DSC_1530

Back to the cookie at hand… if your thinking that I’ve made these somehow a good-for-you alternative, then you’re wrong. Keep searching if you must – but when your ready for a classic, chewy & sweet cookie, please return. I’ve not gone to any lengths (at all) to make these healthy – This is a good old fashioned chocolate chip cookie. Lots of sugar, lots of chocolate. White flour. Let’s get amoungst it.

DSC_1572

Chocolate Chip Cookies
Adapted from here
½ c. coconut oil
1 c. brown sugar
¼ c. oat milk
1 tbsp vanilla extract
2 c. flour
1 tsp baking soda
1 tsp baking powder
½ tsp salt
1/2 c. chopped up almond chocolate (More chocolate would be nice – but I ran out. Not surprising…)
1/2 c. walnutsFirst, pre-heat the oven to 350* F. Cream together the coconut oil & brown sugar. Make sure its well mixed. THen add in the vanilla and milk.
In a separate bowl combine the dry ingredients. Combine the wet & dry and then fold in the chocolate and nuts.
Roll the dough into balls in tbsp sized portions. Its is pretty crumbly but just smoosh it together and it’ll be grand. Flatten the dough a bit on the pan and shape each cookie. Press some extra chocolate on top for delciousness and appearance. I also sprinkled a couple grains of sea salt on top. Cause sweet & salty… I mean come on.
Bake for about 8-10 minutes.
DSC_1524
Let them cool… or not. and enjoy!
xxx

Leave a comment

Filed under Adventures in Australia, Cookies

noosa

Another weekend vacation! I can’t get enough of these. If I could take a long weekend once a month and travel to a beautiful place by the sea where turkeys run a muck like squirrels, well I would live a very happy life. So far, I’m doing ok!

So, here is a photo bomb for you… of my adventures to Noosa with my jazzy lady friend – Sam. We were able to get awesome flight deals and scored a Romantic Escape deal for our hotel. We had cocktails, dinners with a piano man, we napped on the beach, we walked for ages to nowhere (actually a mistake), we watched the sunset, we took a bad ass bus to Fraser Island, we saw a dingo, it ate my baybay, we had more cocktails, we looked at the stars, we drank coffee and then we ate an amazing breakfast. Best breakfast of my life! Please see evidence of all happenings below.

5DSC_0984

1

2DSC_0876

6DSC_1011

4DSC_0976

7DSC_1020

8DSC_1022

9DSC_1023

10DSC_1027

11DSC_1042

14DSC_1062

12trees

13DSC_1053

15DSC_1076

16DSC_1088

17DSC_1095

18DSC_1102

3DSC_0938

xxx

Leave a comment

Filed under Adventures in Australia, Travel

two-year cheesecake

Two years!

DSC_0861bcsb

It is the anniversary of two things! April 30th marks two years since my first post on …but can she bake. Granted, there were a couple half hearted posts before it. However they were few and far between. I started posting regularly two years ago because that is when I moved to Australia to live with my most incredible boy(man)friend. And so, this is also the anniversary of my move to Sydney!

I began writing to document my days/weeks/life in Australia and so that my biggest fans (my mom, dad and grandparents) could track my every move. I love baking and I love taking pictures, so this little ditty was born.

DSC_0827bcsb

Now, here I am, 730 days later posting a recipe that I have been eyeing for at least… well longer than that. I have been coveting these cheesecake recipes since I became a vegan. Why I never made one, I am not sure. Skeptical? Yes. I was. That and I didn’t own a proper blender (vitamix) and even though I still don’t… I thought I’d give it a whirl. For the sake of two years. Ya know what I mean?

Man ALIVE! I am glad I did. This vegan cheesecake is delicious! It’s cashew filled, but you wouldn’t really guess it. I would even go so far as to say that if I had a higher tech blender, this version would be just as silky and smooth as a regular cheesecake. So basically, Dad: if you are still thinking about buying a vita mix, please do and we can make this when I come home. 🙂 (Along with about a billion other vegan recipes that require a vitamix.)

DSC_0808bcsb

The lemon is what makes it sour like a cream cheese based cake and the vanilla, honey and raspberries make it delightfully sweet.

Try this bad boy on for size. It’s a keeper. Even my man-friend thinks so.

DSC_0815-bcsb

The process isn’t even that labour intensive, you just need to soak some cashews the night before. It’s even no-bake! In fact, it’s RAW TOO! Amazing.

You can tell from my pictures that my mixture wasn’t really even close to silky smooth, but I swear it was still so delicious. Just try it out.
Vegan Cheesecake
adapted from here and here

crust
1/2 c. Medjool dates
1/2 c. walnuts
pinch of  salt

filling
2 c. cashews (soaked overnight)
juice of 2 medium lemons
1 vanilla bean
1 c. raspberries/strawberries/blueberries or whatever berry you are feeling
1/3 c. maple syrup (use honey to make it raw)
1/3 c. coconut oil

Soak the cashews overnight. (at least 5 hours)

Throw all the crust ingredients in the food processor and blend/chop until the bind together on their own. You can test this until you are satisfied. Press the mixture into the bottom of a springform pan. Use one 6 inch pan or two 3 inch pans. (mini cheesecakes are awesome!)

Next warm up the coconut oil however you choose (microwave, stove) and mix with the maple syrup. Put the cashews, lemon juice and vanilla into the food processor with the honey/oil mixture and blend until as smooth as possible. This may take many minutes of blending. I used about half of this mixture to pour into the two pans and then saved the other half to add the raspberries to. After evening out the mixture in the pan(s) I put them in the freezer to lightly set for about 30 minutes. You can omit this step, but I thought it would help separate the layers.

Next add the raspberries to the cashew mixture and blend until fully combined. Pour this mixture on the top of the plain cashew mixture and even it out. Place the cake(s) back in the freezer until solid.
Remove about 10-15 minutes before you want to slice it, orrrrr just hack into it with a knife and fork… like me.
DSC_0865bcsb

xxx

pssst! check out what I posted one-year ago.

3 Comments

Filed under Adventures in Australia, Cake, Pies