Let’s be real for a minute. There are a couple of kinds of people I don’t trust. Perhaps my reasons have no real merit, perhaps these are quite nice and genuine people, but none-the-less I have never and will never trust the following people:
People who I don’t trust
A list composed by Caitlin Ann Hicks
1. People who do not make lists
2. People who do not travel
3. People who do not like pie.
I’m certain that life is better with these three things. No questions. We need not go into details, but lets just say they are important aspects of my life. For the sake of this piece of writing, if we can call it that, lets focus on the 3rd point. Pie. It takes a bold person to hate a pie. A bold person with bad taste-buds who I do not trust. So with that being said, let us move on to the pie du jour. But lucky for me, the ingredients will be written out in list form. Excellent.
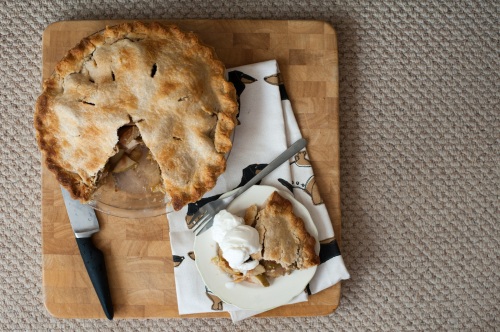
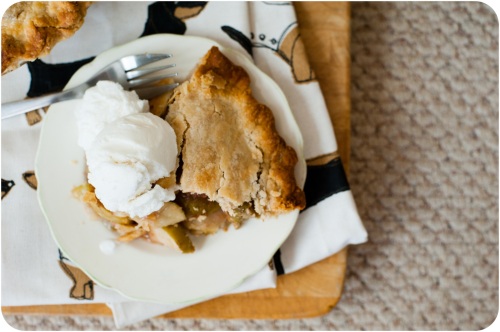
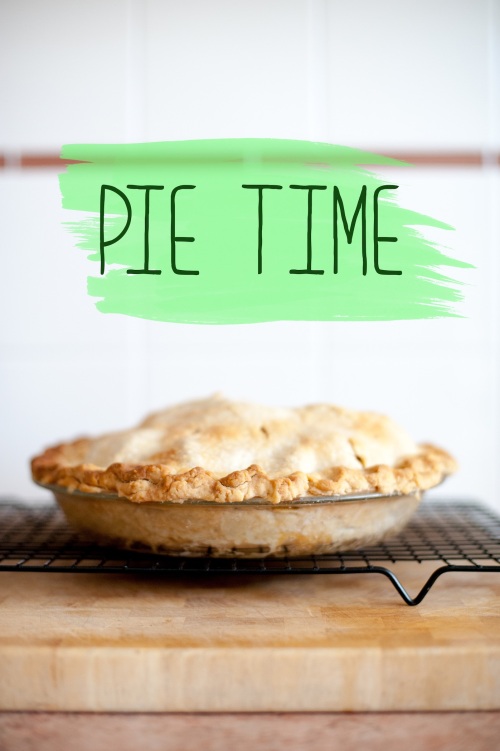
The pie I made today was Apple. Some are a fan of the vanilla ice cream side dish… others enjoy a slice or two of cheddar cheese. Me? I could take it either way, or possibly hans solo. It don’t matter.
Apple, in my mind, is one of the easier pies. If only because there is not an abundance of liquid or juice. I find that with some berry pies you have to add a thickener to the filling, which can easily be forgotten, resulting in berry soup with scattered pieces of crust floating around. Still delicious, but not quite so appetizing. Apple however, has never had this problem. Add a dash of flour to the mix and you always get a good filling, tender and sweet.
Let us start here.
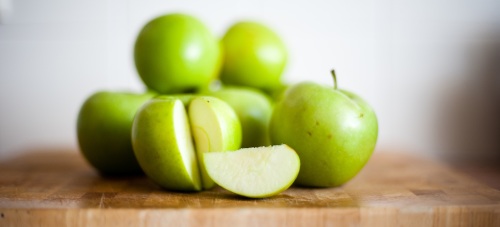
Granny Smith’s Apple Pie.
(I have no Granny Smith. But that’s the apple of choice here, So isn’t that just dandy…)
Crust:
2 c. of all-purpose flour
1 c. of shortening
1/2 c. of ice cold water (or more depending on the day-whatever it takes for the pie to form together)
couple shakes of salt
Filling:
3/4 c. of sugar
2 tablespoon all-purpose flour
1/2 teaspoon cinnamon
1/8 teaspoon nutmeg
Just a pinch or two of salt
Enough sliced Granny Smith Apples to fill the bottom crust and become a mountain that looks to you as if the top crust may not fit over top. Usually about 8 or 9 apples. In other words: lots.
2 tablespoons of butter cut into small bits
Making Pie crust is usually what drives people away from making pie in the first place. But fear not. I’ve heard 101 horror stories, but never experienced one for myself. You gots to show that crust whos boss. No fear. Cause it knows when your scared and that is when it strikes.
First, measure out about 3/4 c. of water and put that bad boy in the freezer– pronto. When your ready for it, it’ll be nice and cold. Next take a mixing bowl and measure out the flour and salt. Add the shortening in small cubes (makes sure its right from the fridge) and cut it in with a… pastry cutter? Why do I not know the name of this tool.
I’ve googled it and I’m like 90% sure that’s right, But then this raises the question of ‘what is the name of that tool that you ACTULLY use to cut pastry? You know the one that looks like mini Pizza cutter?’
To be invesigated. I’ll put that on my list.
Back to the crust:
So you cut in the shortening, a couple cubes at a time until you’ve used all the shortening and the consistency is that of large crumbs. Go get that icy cold water and add it gradually, about a 1/4 cup at a time, and mix up that pasty until it forms one big ball. From there, you split it in two and wrap each in plastic wrap and put ’em in the fridge for at least an hour. Sometimes, ’tis easier to do all this the night before baking, but that’s up to you.
The filling:
Preheat the oven to 400degrees.
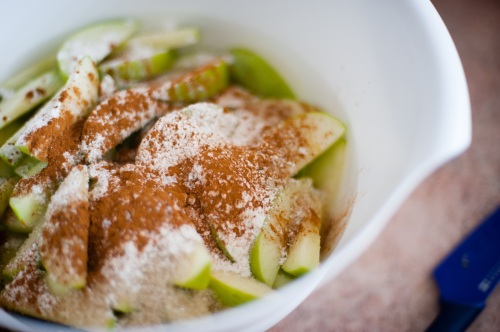
Usually, I wash, core, and cut all the apples first and put them in a really big ziploc bag (sometimes two) and then add the rest of the ingredients to the bag. I find it way easier to get all the apples coated thoroughly in the sugar because how hard is it to stir sliced apples? REALLY hard. So this is the cooler shake and bake method.
So you slice up the apples and then simply add the sugar, flour, cinnamon, nutmeg, and salt to the bag. Shake it. Like a Polaroid picture. Don’t fuck this part up.
Rolling out the crust:
While keeping your poker face, take out your chilled crust, unwrap and place on a floured counter. Smash it down a bit, just a bit, and then start to roll it out with a floured rolling pin. Roll in one direction only, not back and forth. But you can switch your angle on the crust to make it roll out even, ya dig? After a couple rolls, lift it up to make sure it doesn’t stick the counter and then possibly re-flour if necessary. Roll so that it will fit the 9 inch pie pan.
Transfer the crust to the pan, pressing it in to fit nicely.
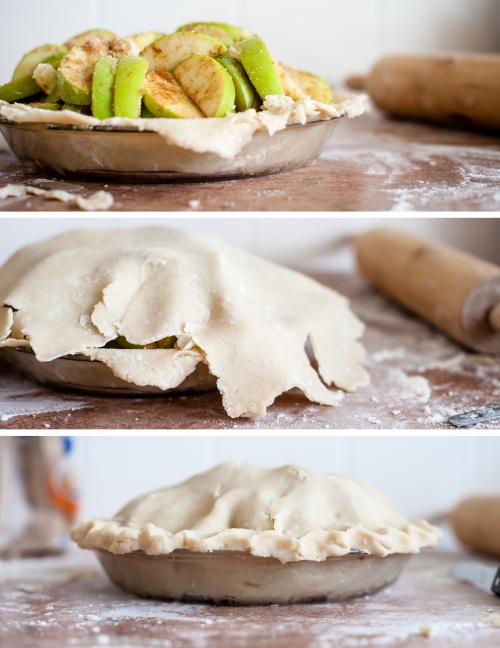
Now fill the crust with the apples. It willllll overflow. Sometimes I find it necessary, and charming, to place each apple slice into the crust in a circular formation, building it up as necessary. Though this can take a while, the apples do stay put better, and there are less awkward shapes on the top of the pie.
Dot the apples with the cubed butter.
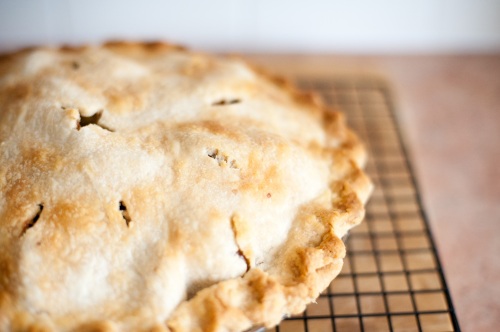
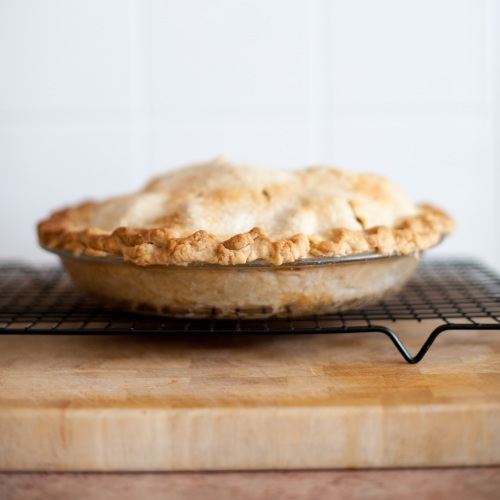
Roll out the other crust and place it on top. Trim the edges to fit and then roll up the bottom crust and crimp the edges however you like. Cut a couple slits in the top for steam to escape and then bake that pie for about an hour, or until the crust is golden brown. You can brush the top with milk and sprinkle on some sugar for better browning capabilities.
Cool it on a window sill with your curtains blowing in the wind and then serve it warm, or chilled.
pie time.
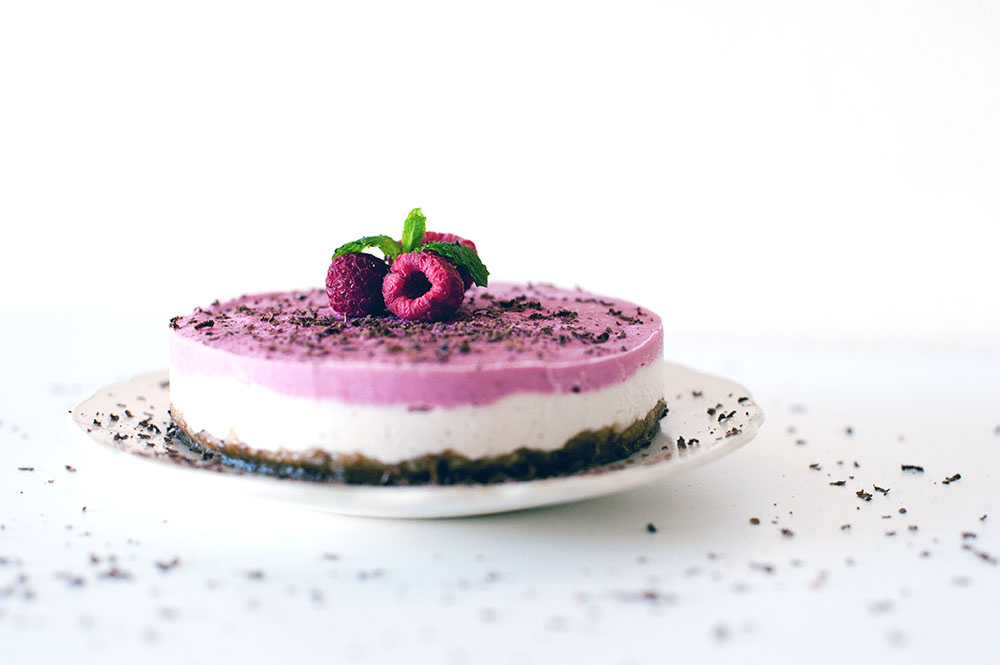
 I took this picture the other night and I immediately wanted to make creamsicles.
 They are super cold. They are super delicious. And they are super easy. I have made this before in a ‘one big pie’ sort of way… but when I looked back on that recipe it had about 10 ingredients for the base alone which, again, just wasn’t a happening thing. So, in my lazyness, I eyeballed a bunch of ingredients into a food processor and hoped for the best. Here’s to me accurately remembering the recipe for you now! Woop!
 No-Bake Chocolate Mini-Tarts
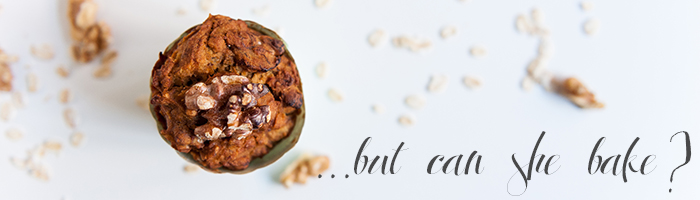
 You can see here that I obviously ate about three of these before I finished photographing them. yum.